
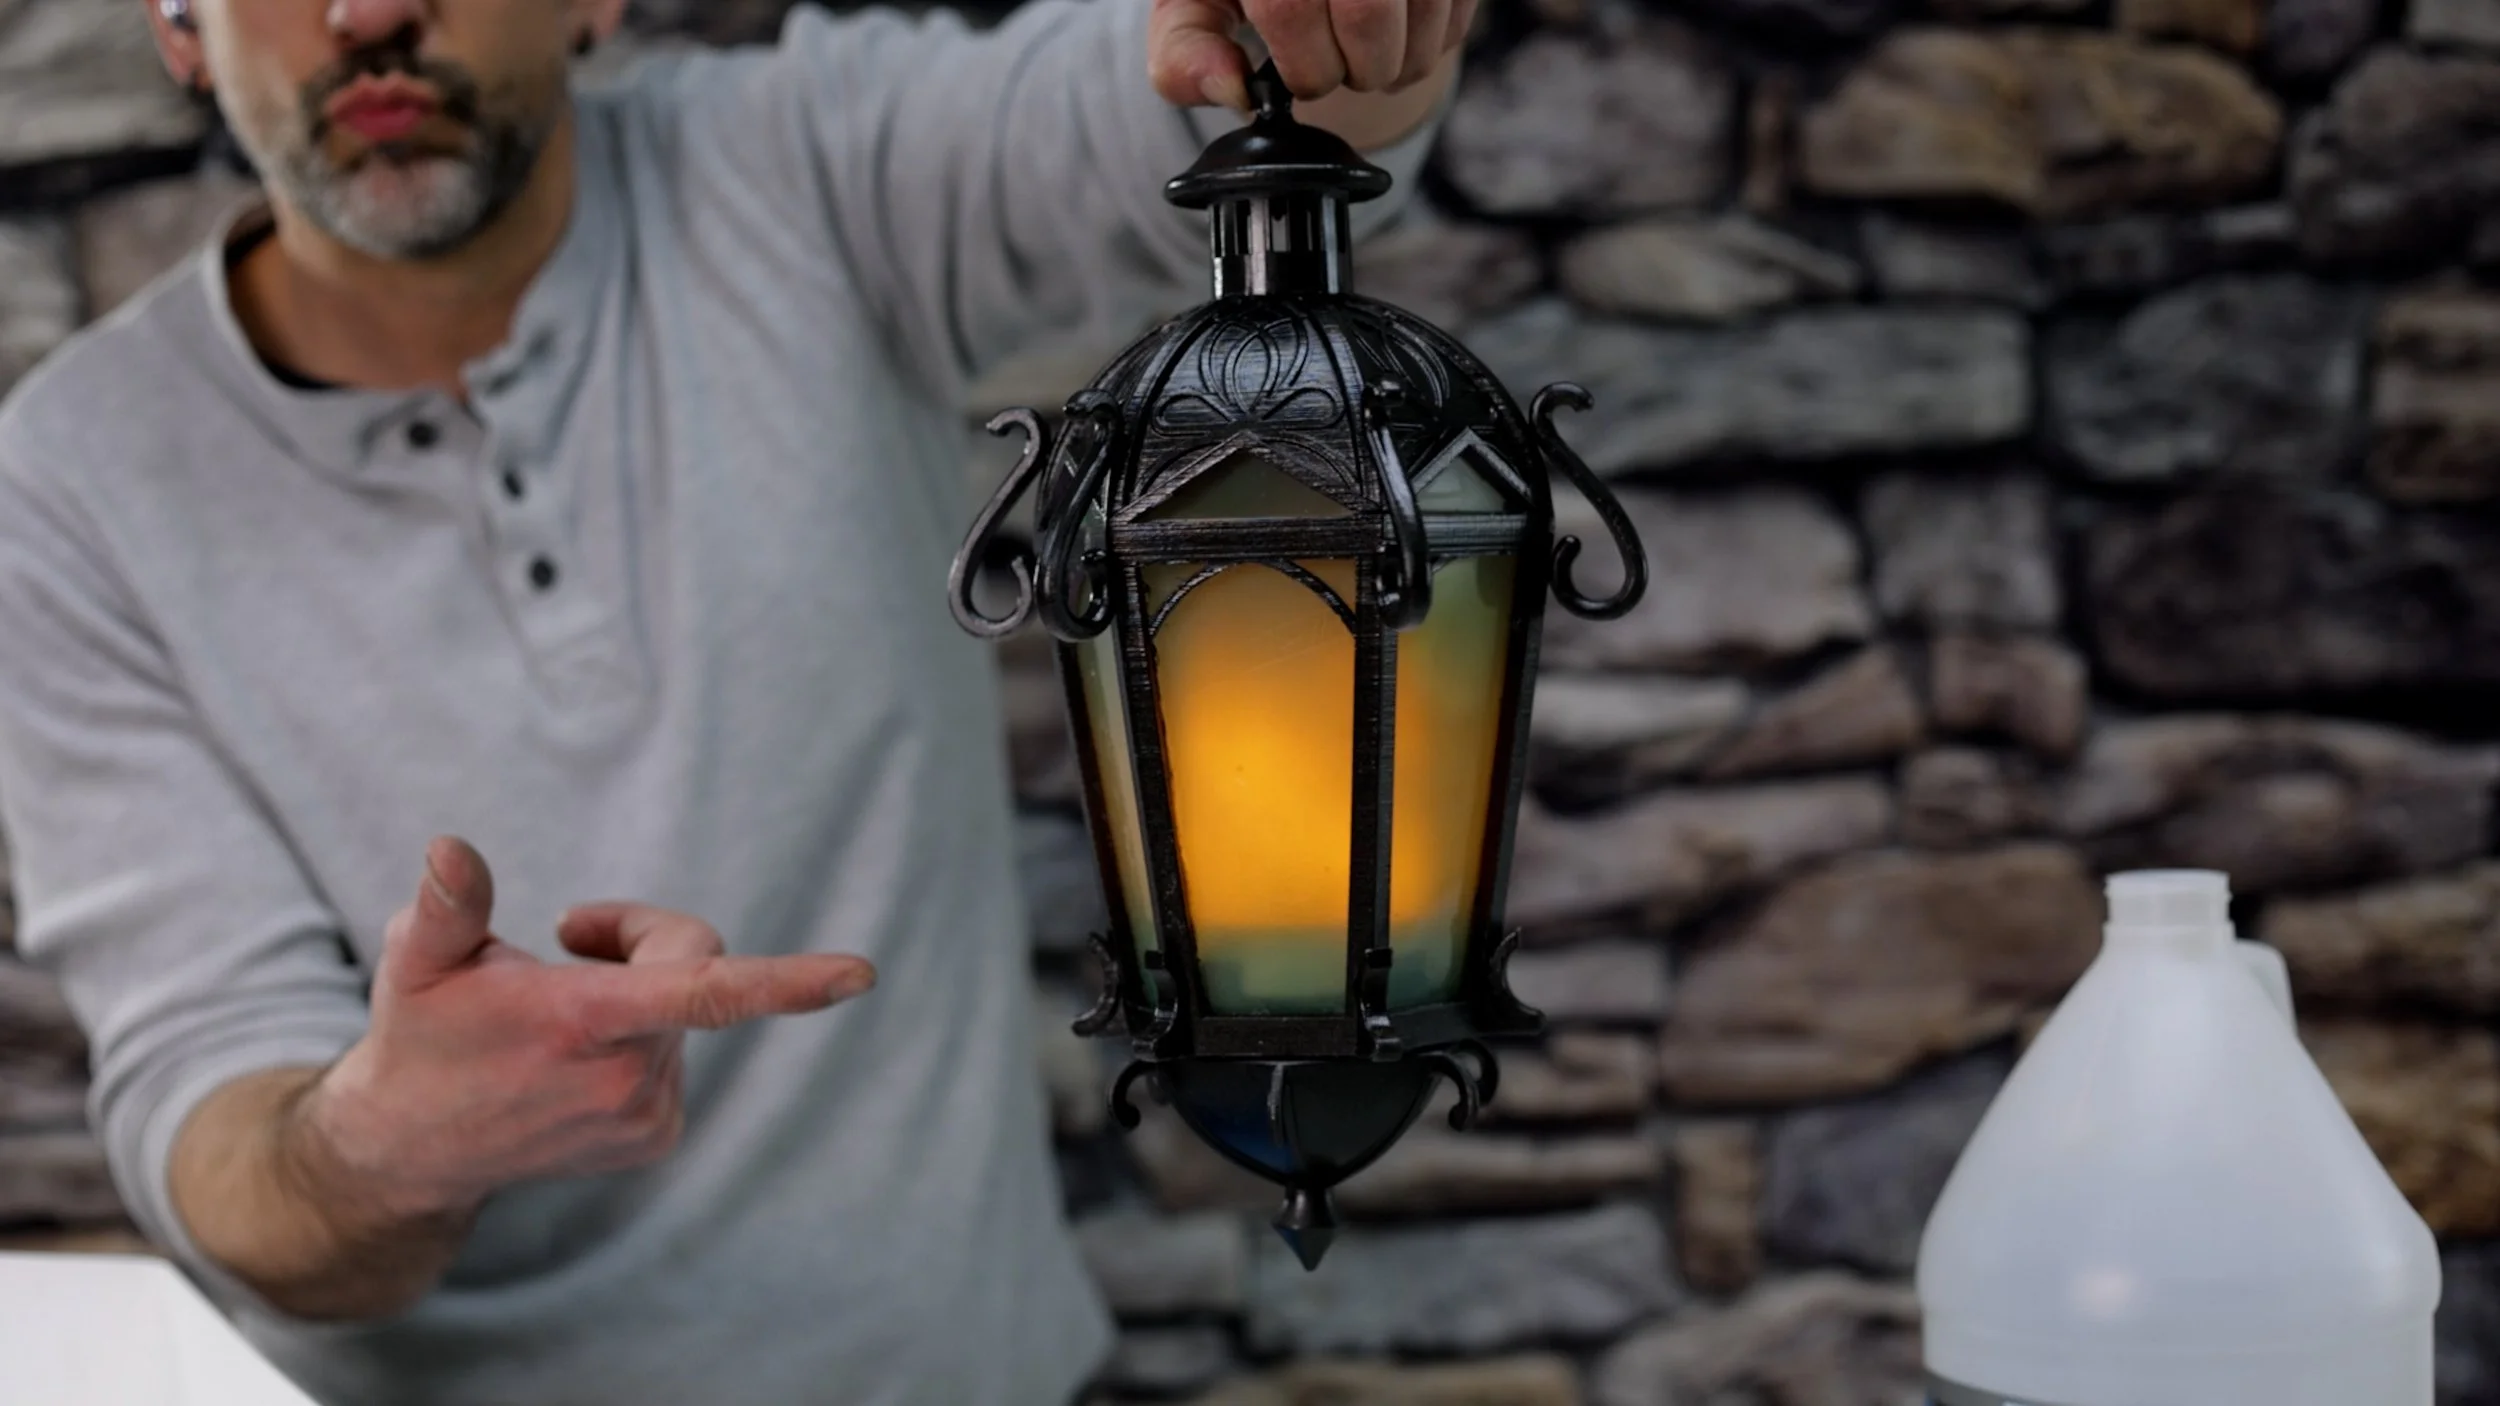
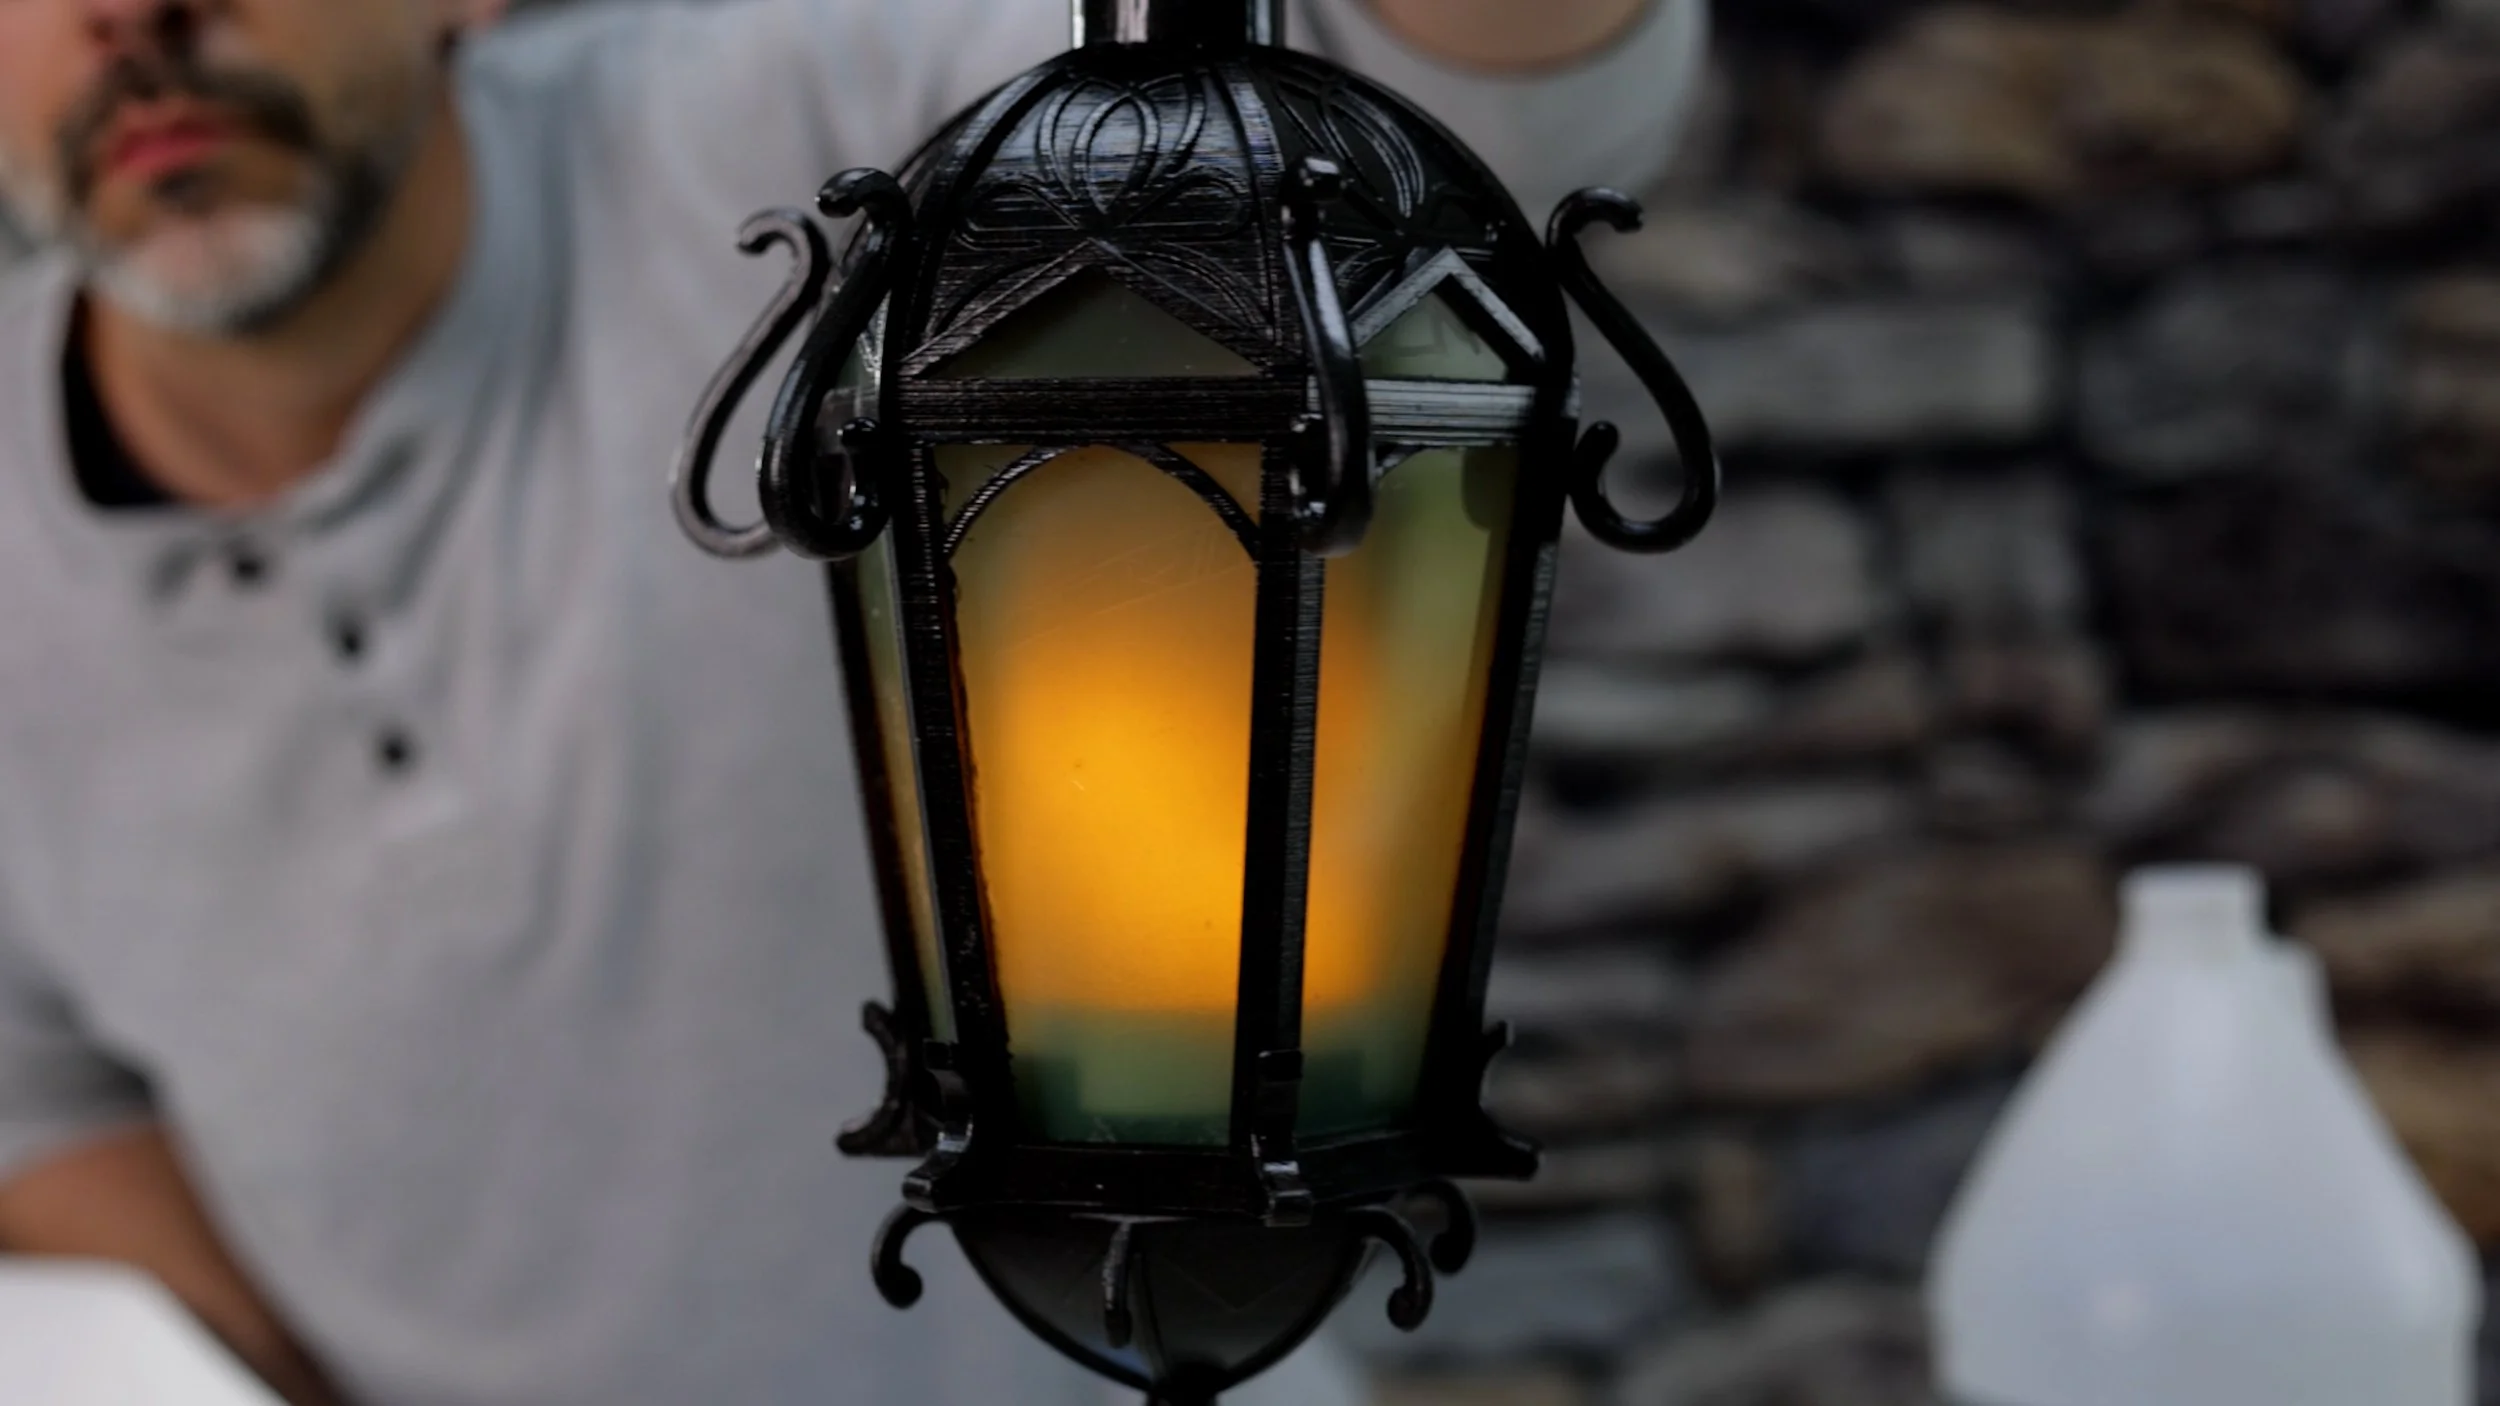
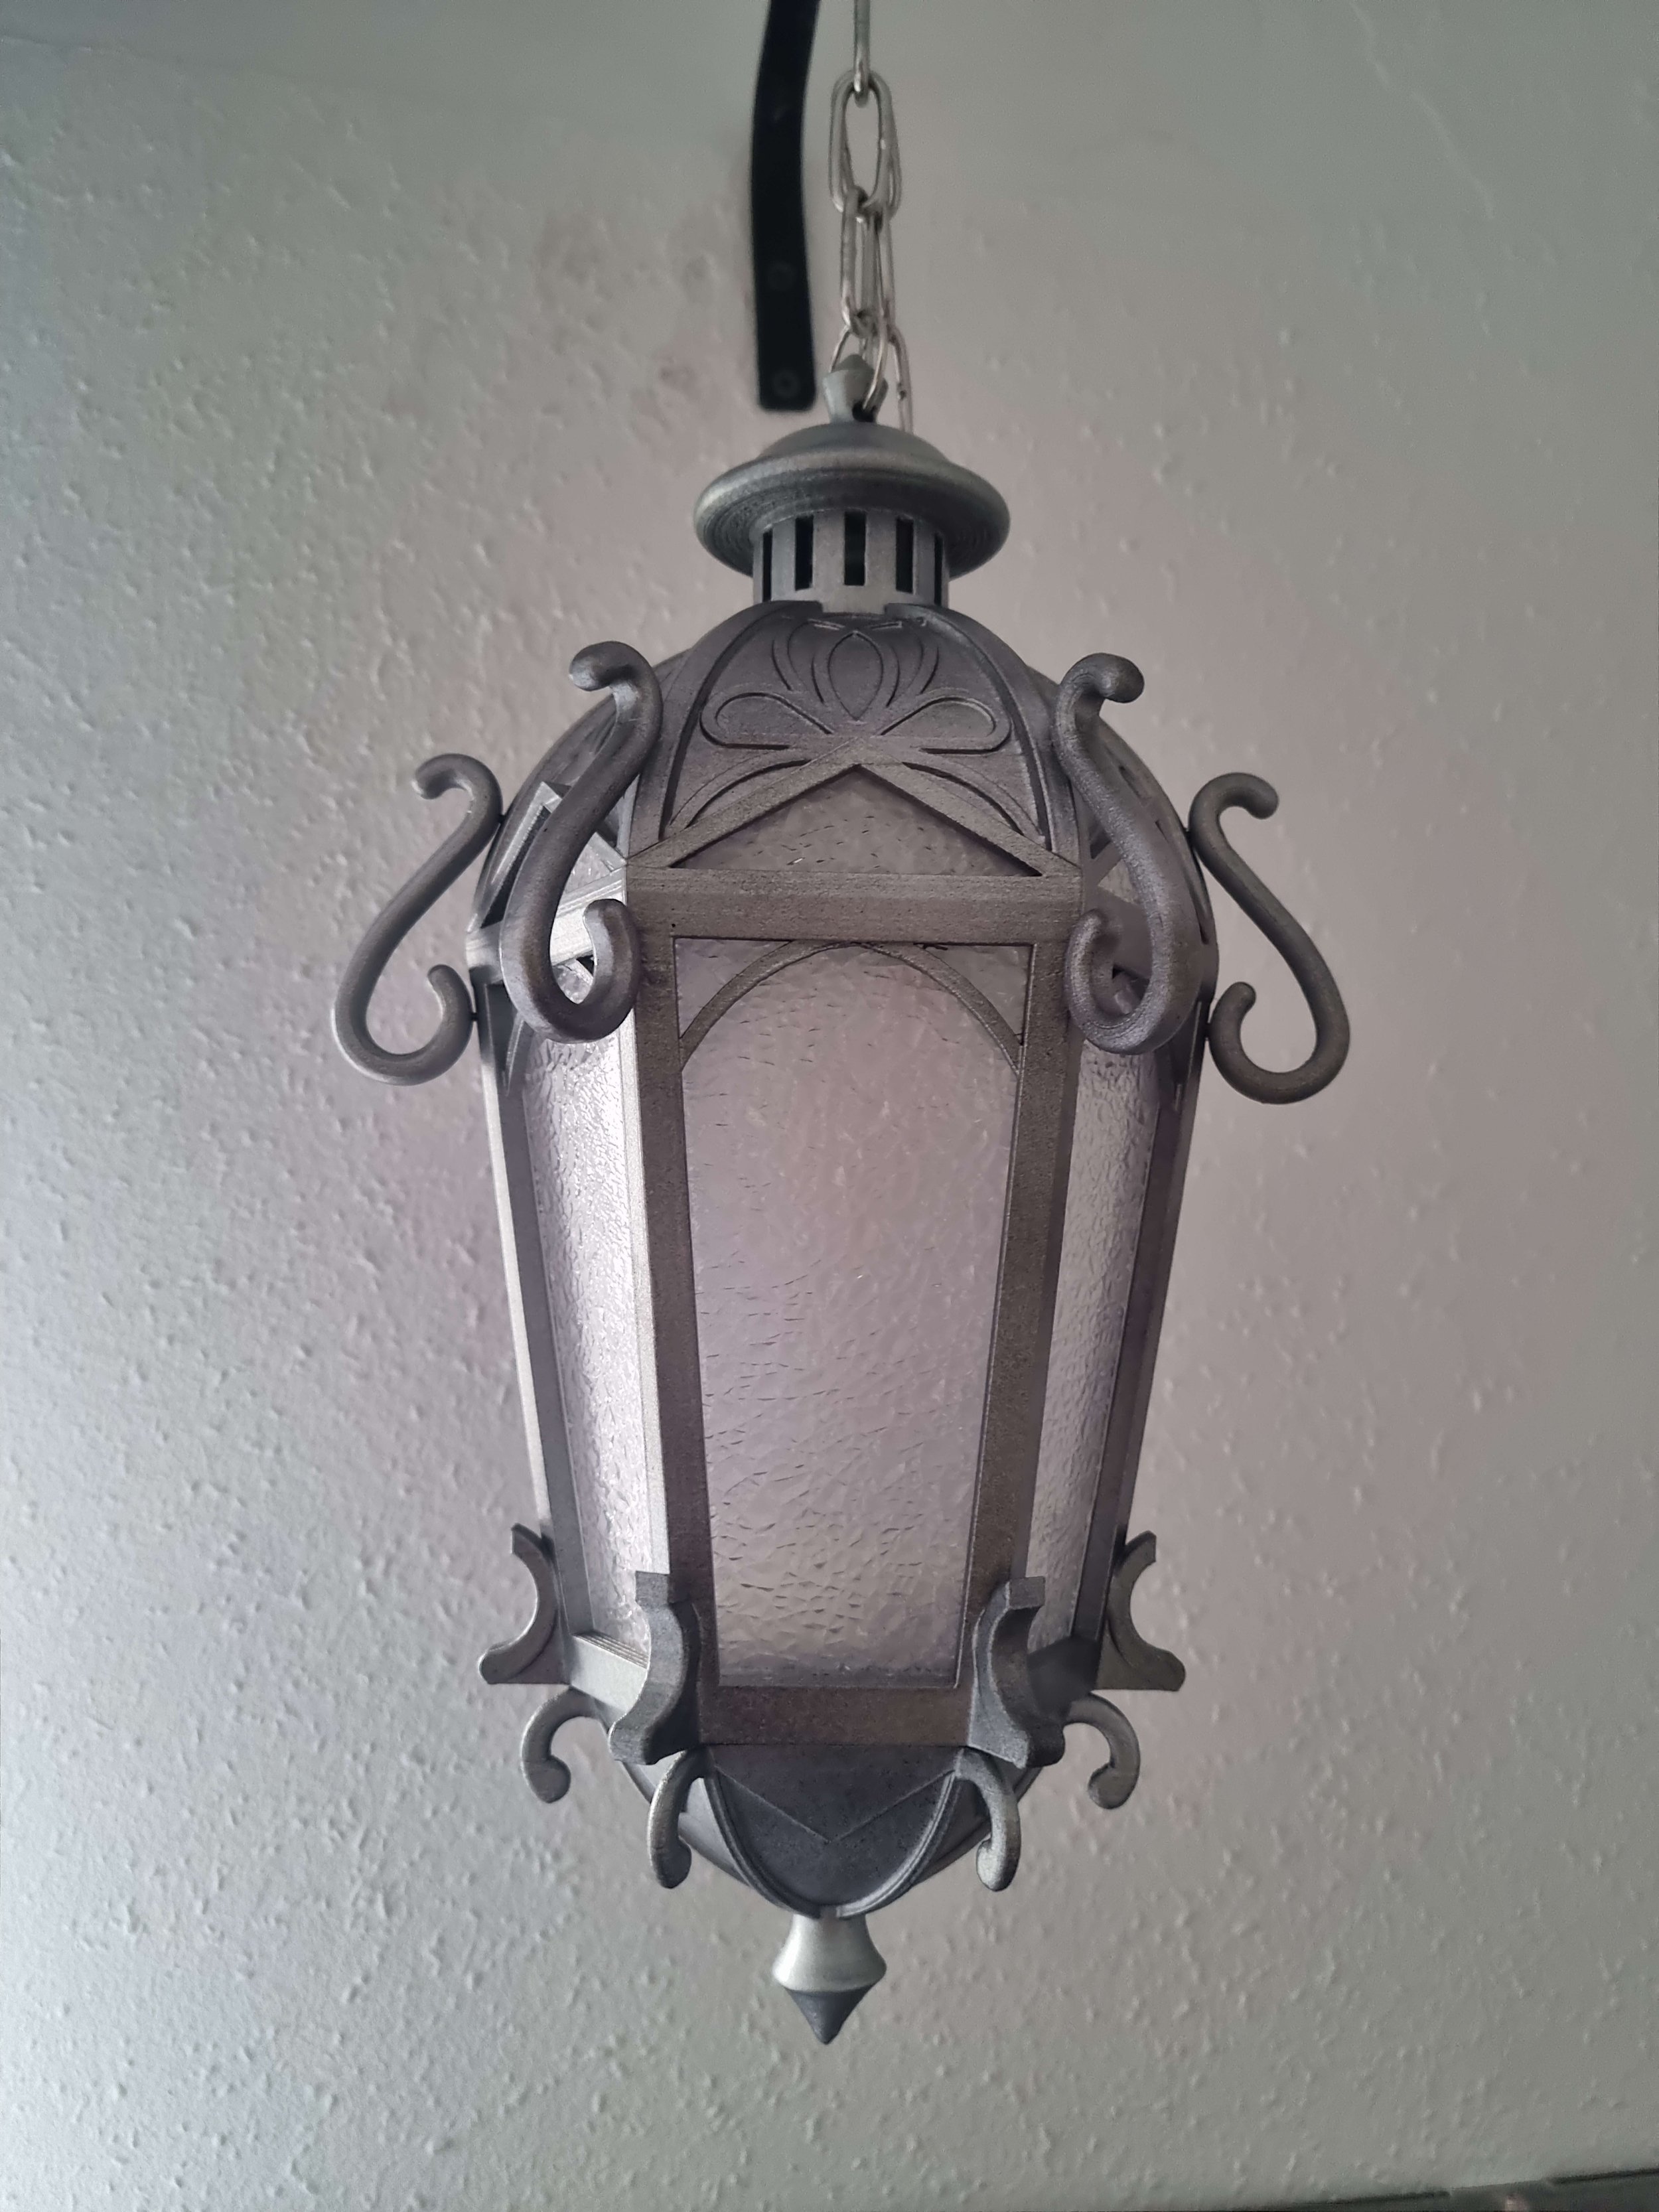
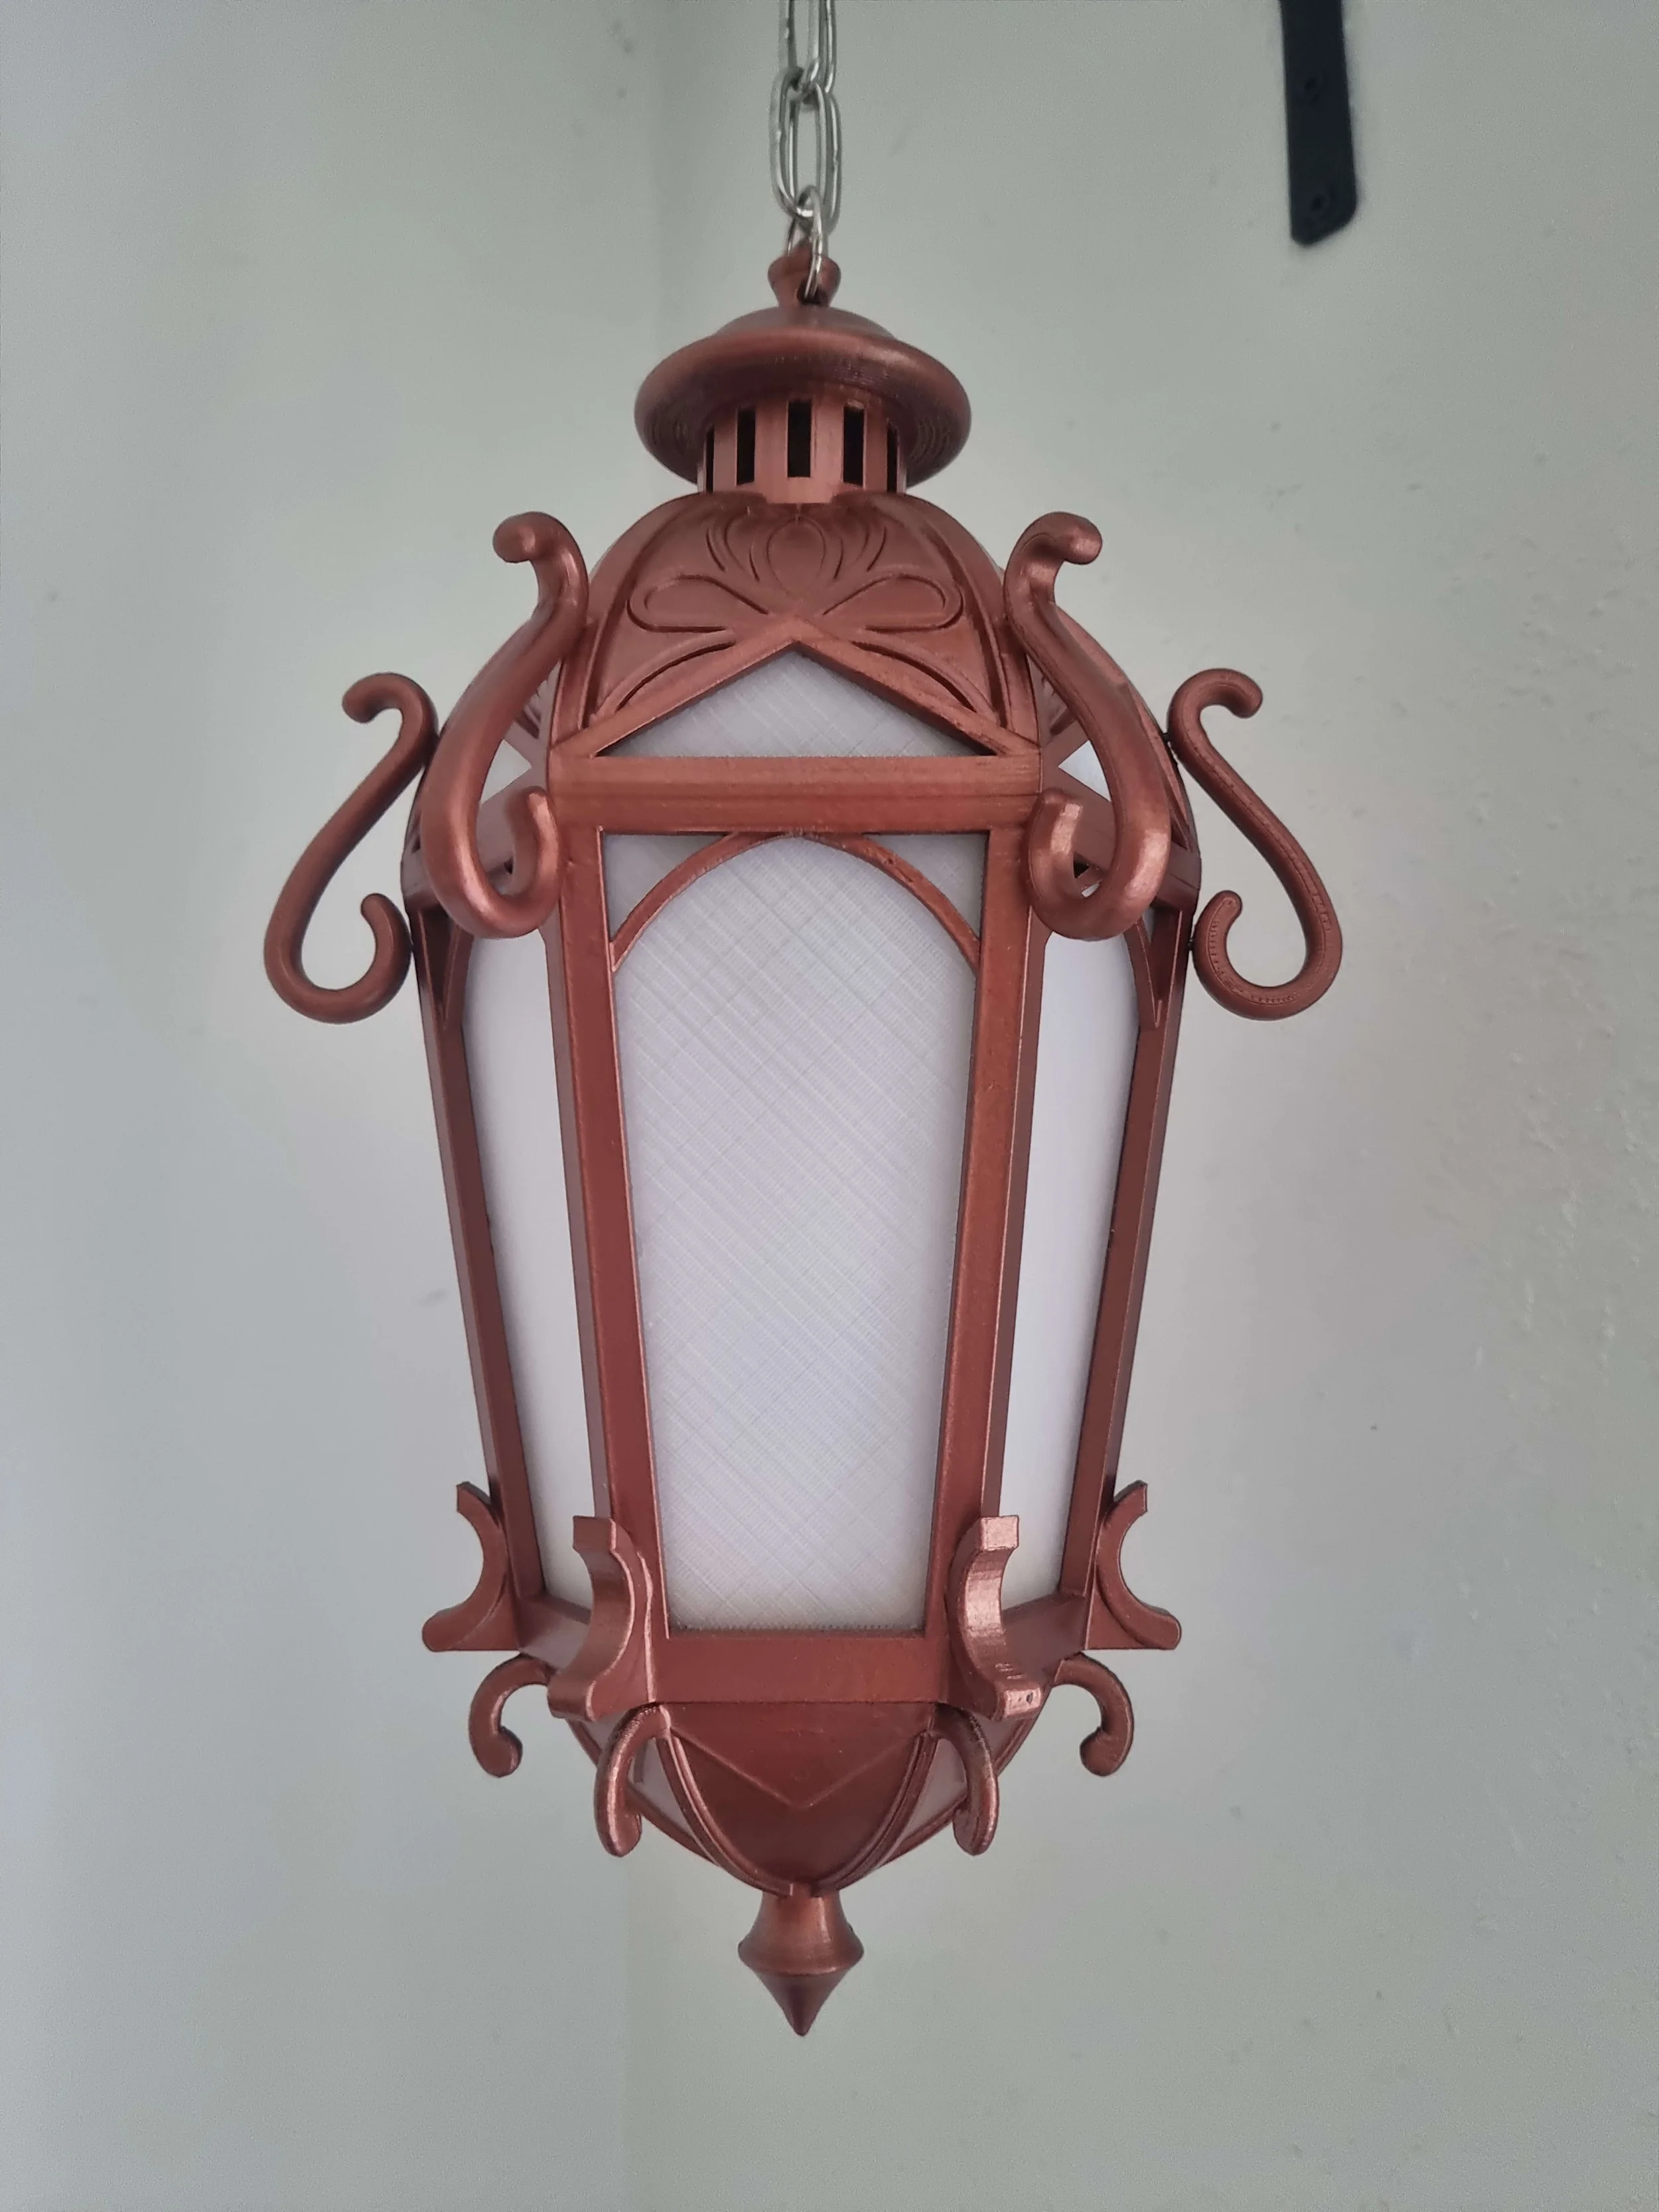

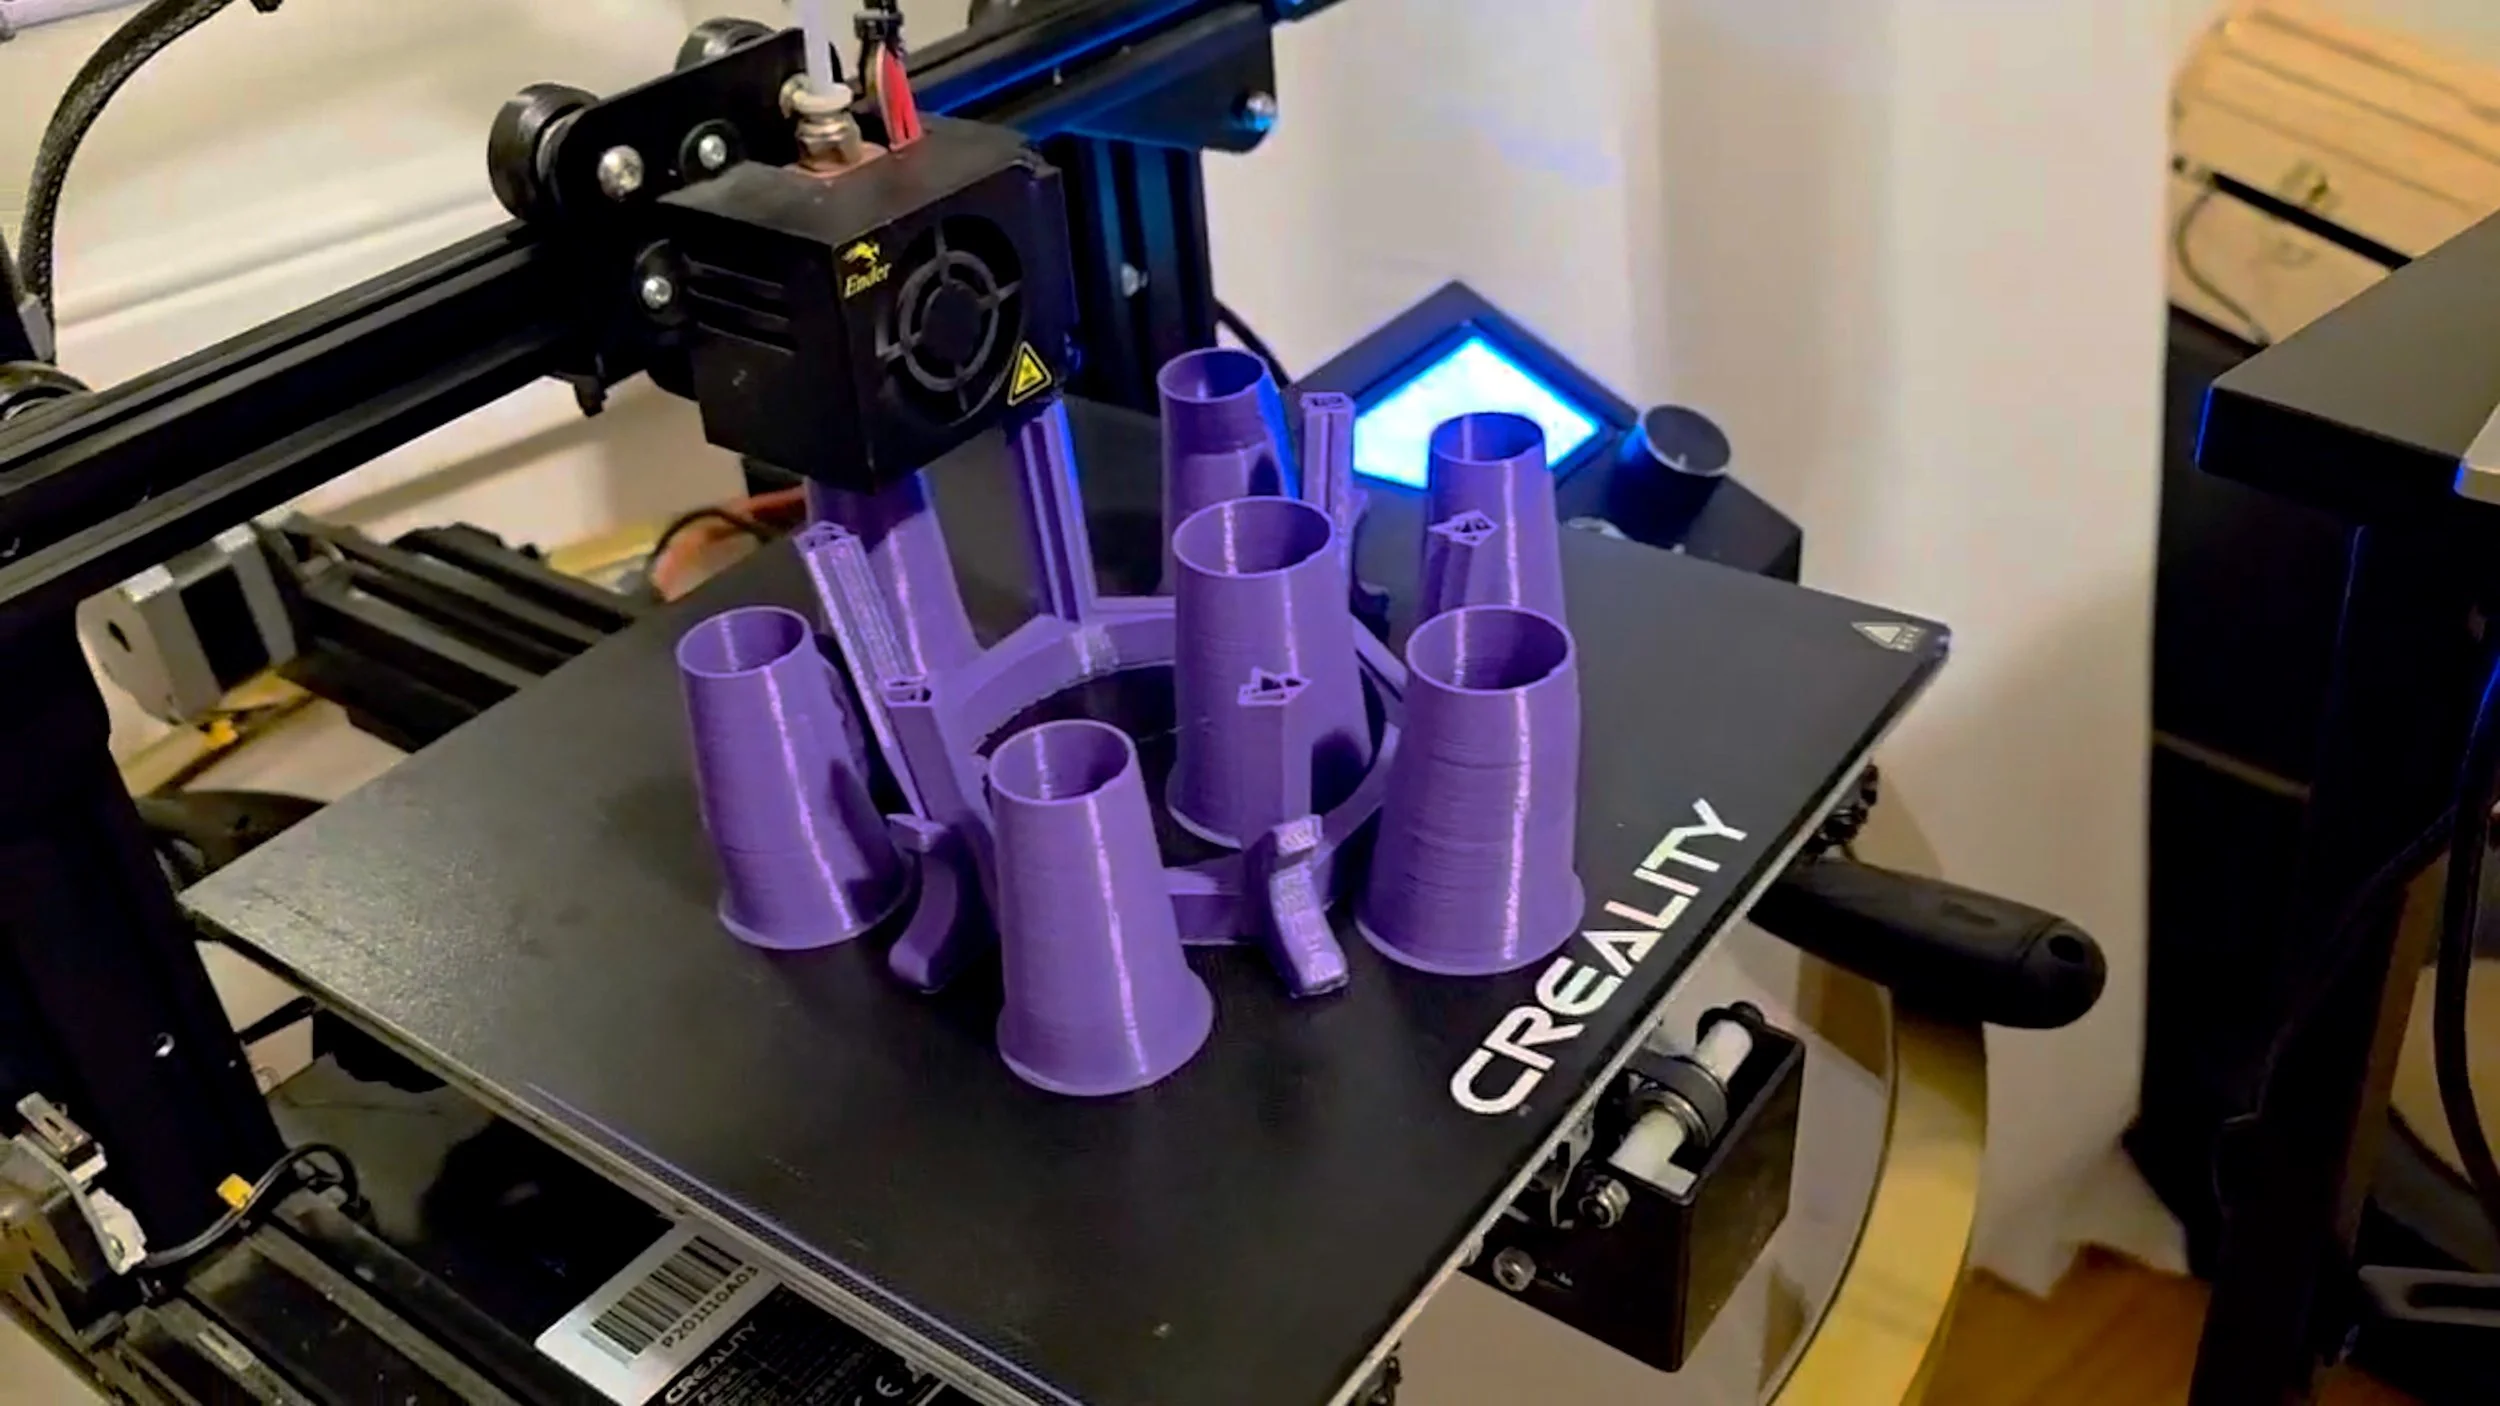
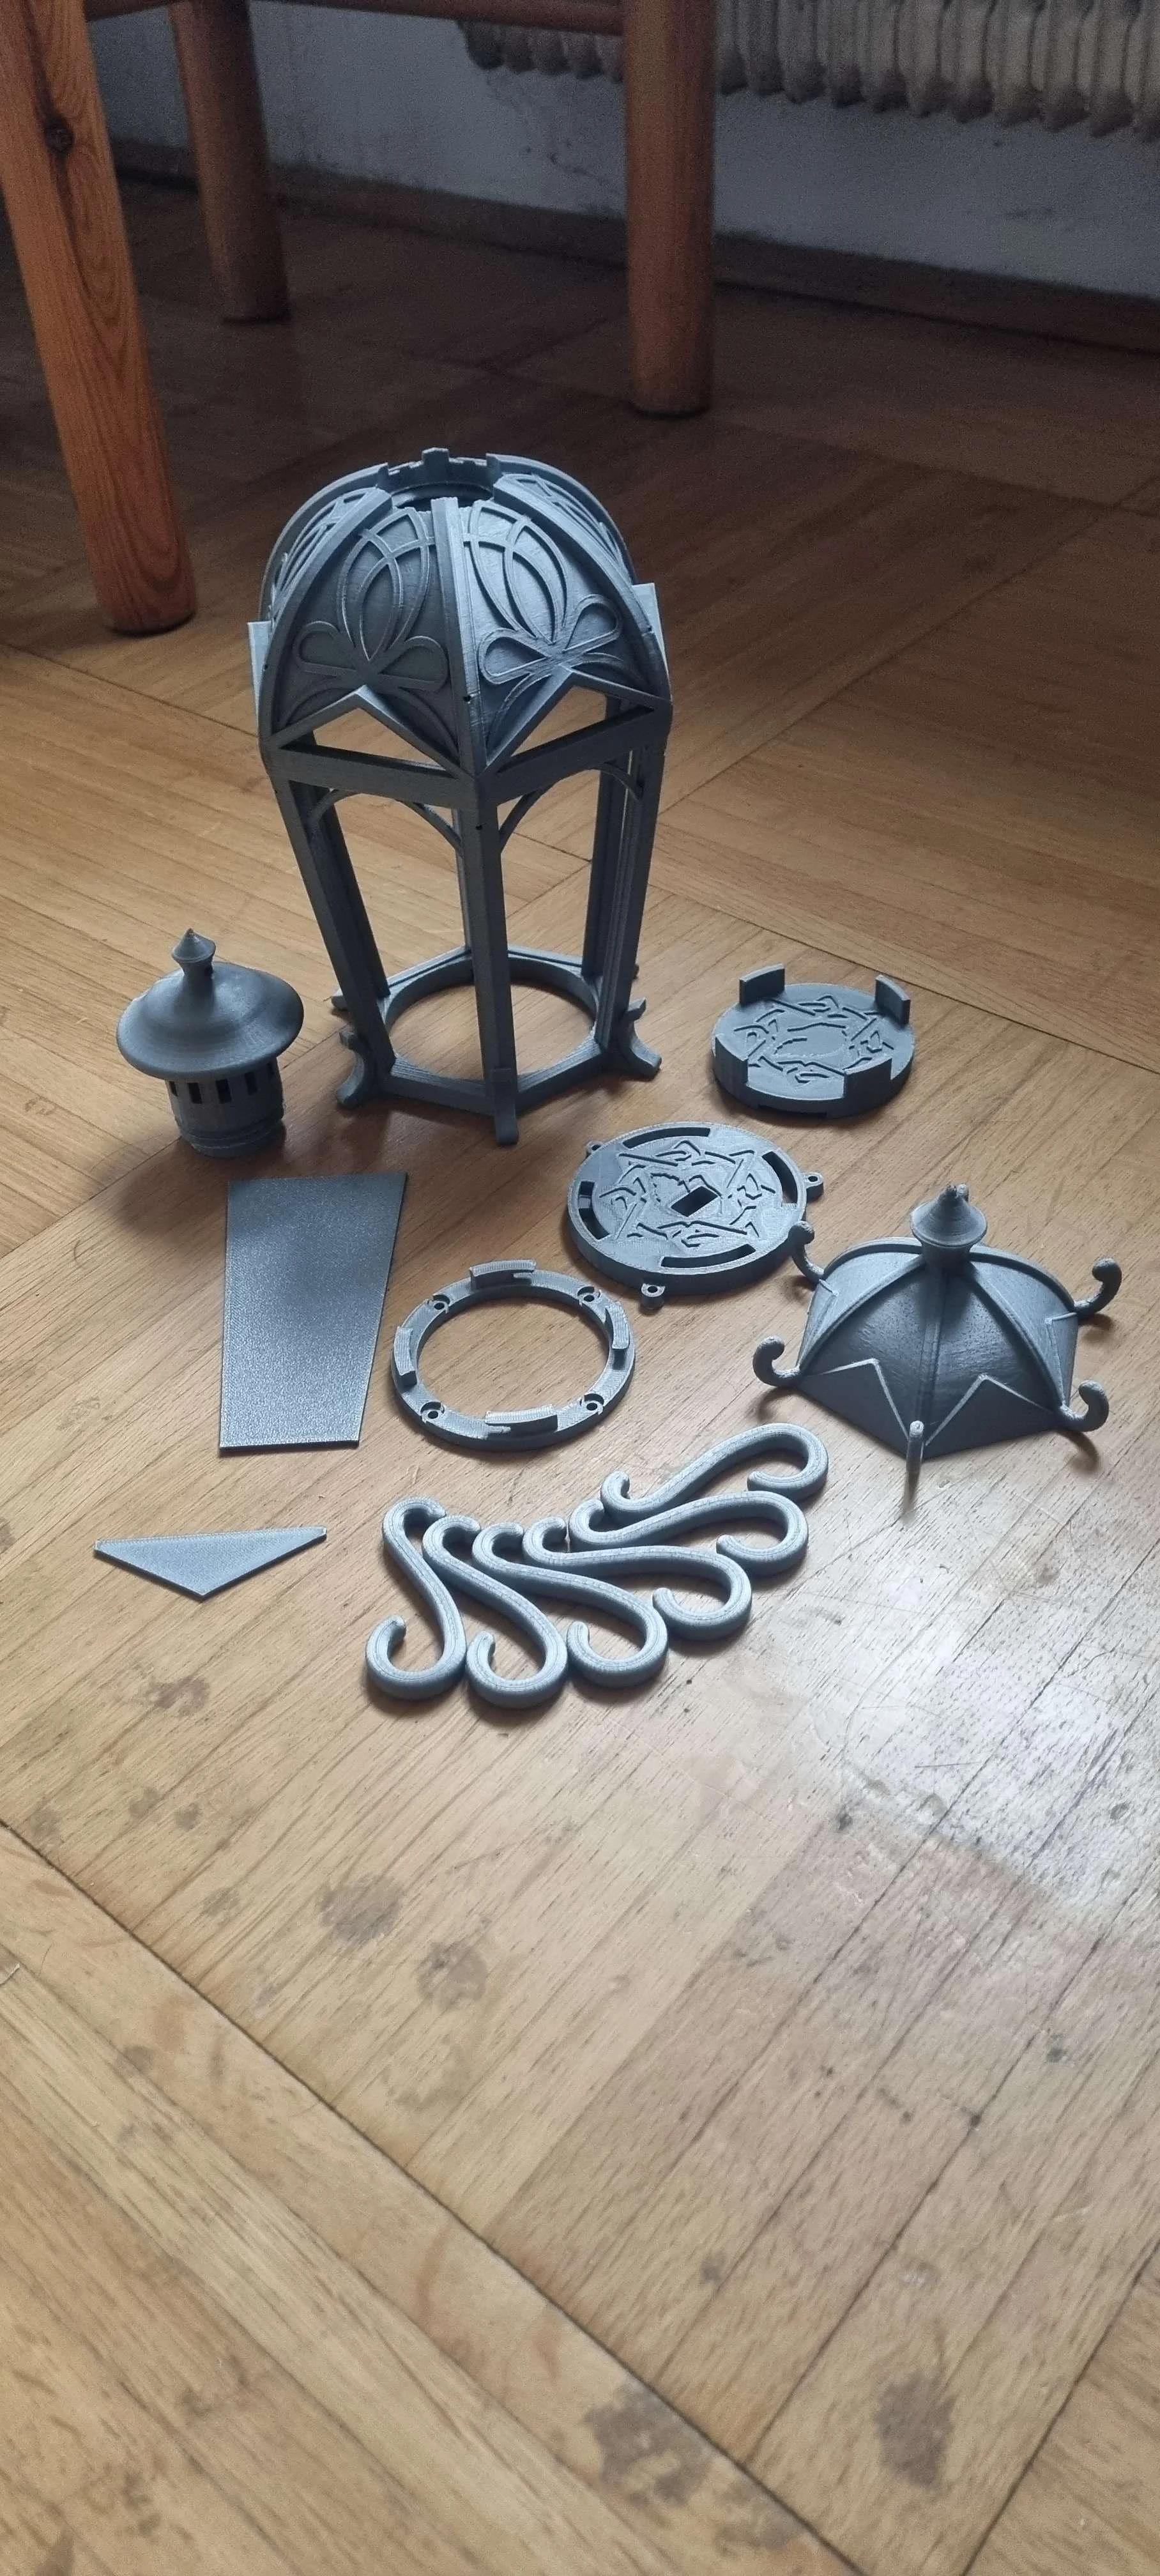
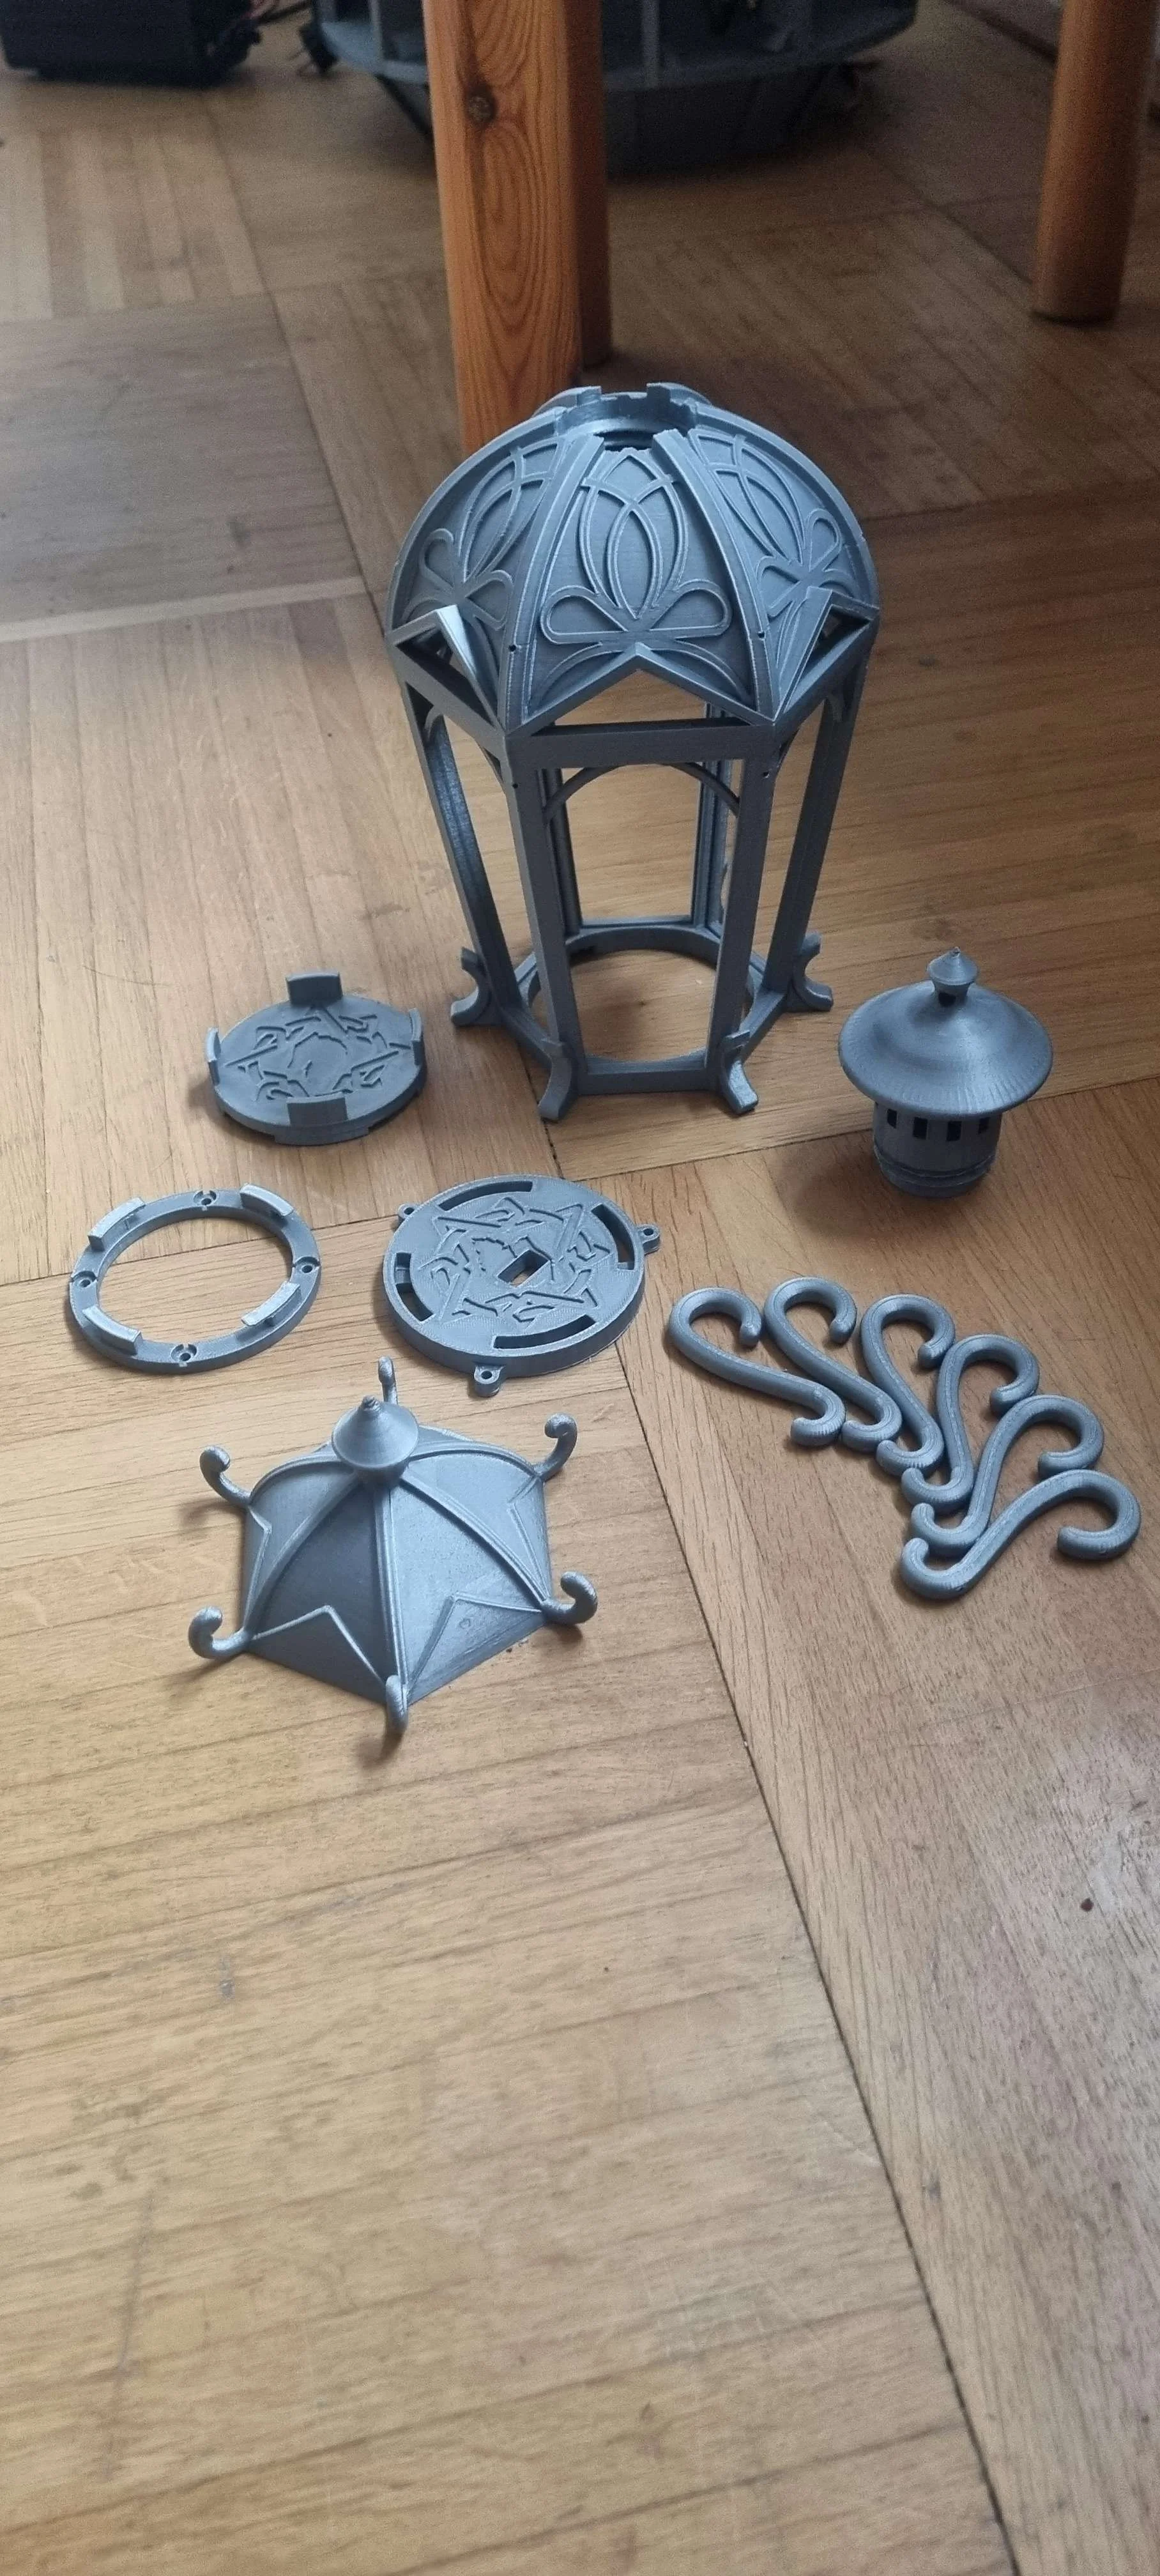
Created by the amazing Wiolant and Son, this fantasy lantern was designed for the Dendronia camp at Conquest of Mythodea: a decorative, in-world lighting piece made to bring a warm glow to tents, pathways, taverns, shrines, and camp gathering spaces.
This listing includes the digital 3D print files only. No physical lantern is included.
Recommended use: battery-powered LED tealight or small LED lamp only. Do not use open flame.
Personal-use license: you may print this lantern for yourself. You may not resell, redistribute, upload, share, or commercially produce the digital files without written permission.
The lantern decorations are designed to be attached to the body with standard 1.75mm filament for simplicity.
We have found that using ABS specifically isn’t great because ABS is somewhat brittle and they break off easily. The broken pins then need to be drilled out, which can be annoying.
I have found using TPU to make the pins works very well – they hold secure and because they are rubber, they flex instead of breaking. This is how my personal lanterns are assembled
Alternatively, the holes can easily be drilled out to 2mm and pins made with something sturdier, like stainless steel rods.
The bottom plate (Lantern Base) is held into the body with 3x M3×5 counter-sunk screws. An M3 tap is needed.
The locking ring is fixed to the “LanternBottom” either with 4x M3 self-tapping screws. Or, alternatively, they can simply be glued on (this is the better method IMO, as it requires less hardware. Simply use the screw holes for alignment)
The “LanternLightHolder” is a simple press fit into the “LanternBase”.
This is an optional part. I designed it mostly to suit my own specific needs.
It’s designed specifically to hold these lights on Amazon:
The channel on the bottom is meant to route a USB cord through the base so any rechargeable light inside can be recharged without removing the “LanternBase” (on mine I keep the USB cable permanently plugged into the lights using a 90-degree adapter with the other end tucked into the “LanternBottom”)
The lantern can support windows up to ~4mm thick. Layering materials also can give cool effects…
The windows are all press-fit into the lantern; however, I recommend gluing them just in case (as the big ones can easily be popped back out otherwise). Printing them directly in PETG works surprisingly well and gives a great effect right off the bat, or they can be printed in whatever and used as templates to hand cut or cut in a laser cutter.
The threads for the Lantern Cap tend to print a bit rough on the very outer edge, so smoothing over the outermost edge is recommended (to be perfectly honest, this is a pretty easy fix on the model buuuuuuut I’ve found that it’s actually somewhat helpful to get a nice tight fit at just the right position when fully screwed in. As Bob Ross would say, “happy little accidents”).